DRILL PIPE INSPECTION

Drill Pipe Inspection
The drill pipe is made from the welding of three separate pieces. These include the box tool joint, the pin tool joint, and the tube. The ends of the tubes are upset to increase the cross-sectional area of the ends. After upsetting the tubes goes into a heat-treating process. The drill pipe steel is commonly quenched and tampered with to achieve high yield strengths. Higher-strength steels are typically harder, and this makes them more susceptible to cracking and crack propagation.
Drill pipe is a hollow, thin-walled steel or aluminum alloy piping that is used for drilling rigs. Its hollow shape allows drilling to be easily pumped down the hole through the bit and back of the annulus. The pipes come in various sizes, strengths, and wall thicknesses. The drill stems are designed to transfer drilling torque for combined lengths that often exceed several miles down the Earth’s crust.

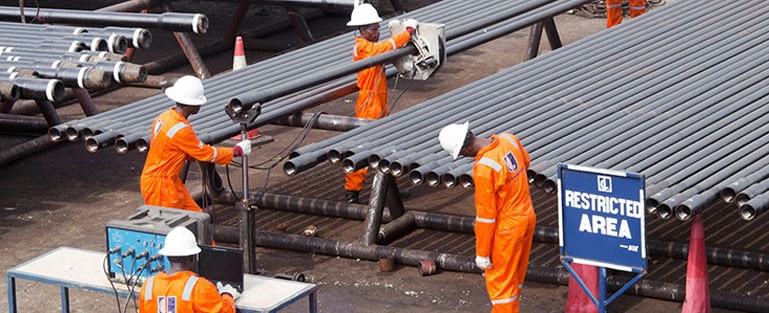
The pipes are expected to possess the strengths that can bear weights of deeper components. If the wells are deep, it requires the use of tempered steel tubes which are very expensive. The owners also spend a considerable amount of time to reuse them whenever they finish a well. This is also designed to be capable of resisting pressure that may likely occur both inside and outside. A used drill stem can be inspected both onsite and off the location. Various testing methods are used to conduct the inspection of the drill pipe. Ultrasonic testing and instruments that are like the spherometer can be used at the inspection sites to detect defects from metal fatigue. The drill pipe is the portion of the overall drill string. The drill string is made up of both the drill pipe and the BHA which is the tubular portion that is closest to the bit. The drill pipe is also considered premium class which is regarded as 80% remaining body wall (RBW). After the inspection and it is determined that the RBW is below 80%, the pipe is class 2 or a Yellow band pipe. If this becomes the case, the drill pipe will be regarded as scrap and will be marked with a red band.
The drill pipe inspection is usually set at regular intervals that depend on the type of drilling conditions that have been conducted in times past as well as the past failures that have been experienced.
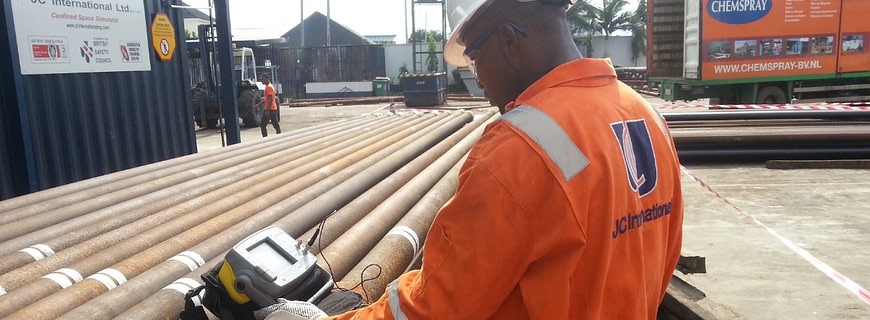
Unit measurements are used for full-length electromagnetic inspection of drill pipe tubes. This is necessary to locate the internal and external pitting as well as cuts, gouges, and localized wall loss, fatigue cracks which are detrimental to the integrity of the pipe that is supposed to be used in the drilling operations. Incorporated with EMI, the pipe tube is gauged to measure the wear of the tube and to locate dents and any other mashed areas.

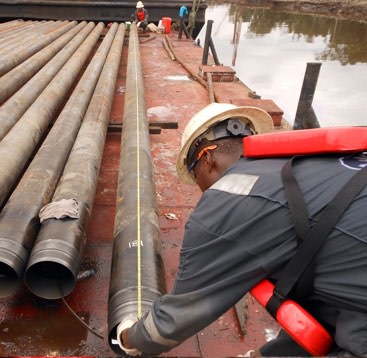
The thickness of the wall and other readings are required to be taken with the use of a compression wave ultrasonic thickness gauge. Values that are needed for downgrading pipes due to wall thickness loss are set by customers and are inspected to ensure that they comply with the set standards. In addition to the tubular body inspection, thread inspections are also carried out both visually and dimensionally for API and premium connection. The drill pipe inspection may include magnetic particle inspection (MPI) of the drilling rig mast, sub-base, pipe elevators, slips, tongs, sheaves, welded areas of high-pressure lines, and various other hoisting equipment These inspection techniques are also conducted using the A.C Yoke magnetic flow technique.
What can JC International Provide?JC International is the nation’s leading inspection, verification, testing, and certification company. Contact us for your specific inspection requirements for your oil country tubular goods (OCTG).

Leave a Reply